IMPORTANT: If the user that connected Quickbooks to ConnectSx leaves your organization or their Quickbooks access is otherwise revoked, you will need to disconnect and reconnect your Quickbooks integration (This includes if their Quickbooks password changes).
If this situation occurs with your organization, you will see a 5020 error, permission denied. If you encounter this error, please try disconnecting and reconnecting your organization’s ConnectSx account to Quickbooks.
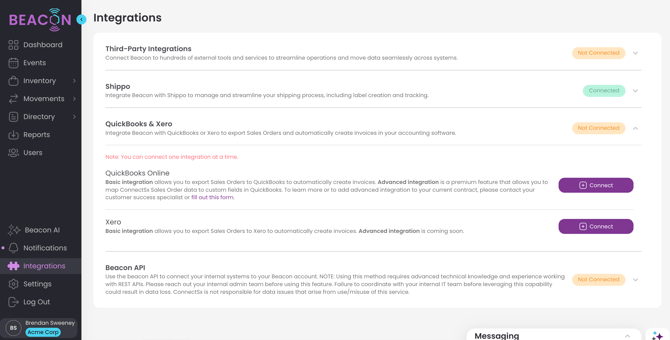
You can now connect your ConnectSx account with your QuickBooks account so you can easily send the sales order data from your cases directly to QuickBooks to generate your invoice. Follow the steps below to integrate your accounts:
Note: ConnectSx will also send the Catalog # to the SKU field in Quickbooks, so the Catalog # will appear on the Quickbooks Invoice.
First we need to connect your Quickbooks account to ConnectSx.
-
Navigate to your organization settings section of the platform and click on Integrations.
-
Click +Connect next to the Quickbooks Online Integration
-
When you are redirected to the Quickbooks login screen, enter your Quickbooks login credentials and log in.

-
Next, authorize ConnectSx to integrate with Quickbooks by clicking “Connect" and move through any additional screens Quickbooks prompts you with to connect your account.
-
Following a successful connection you will be automatically returned to the Beacon integrations page and will see the “Connect QuickBooks Account” button has changed to a “Disconnect Quickbooks Account” button. Clicking this button will allow you to undo the integration at any point.
NOTE: In order to FULLY DISCONNECT from your account, you must ALSO log into your QuickBooks account, navigate to the “Apps” page, and disconnects the ConnectSx app there.
Next, we need to map your Facilities from ConnectSx to your Customers in Quickbooks.
-
Login to Quickbooks
-
Navigate to your Customers screen
-
Click on the first customer
-
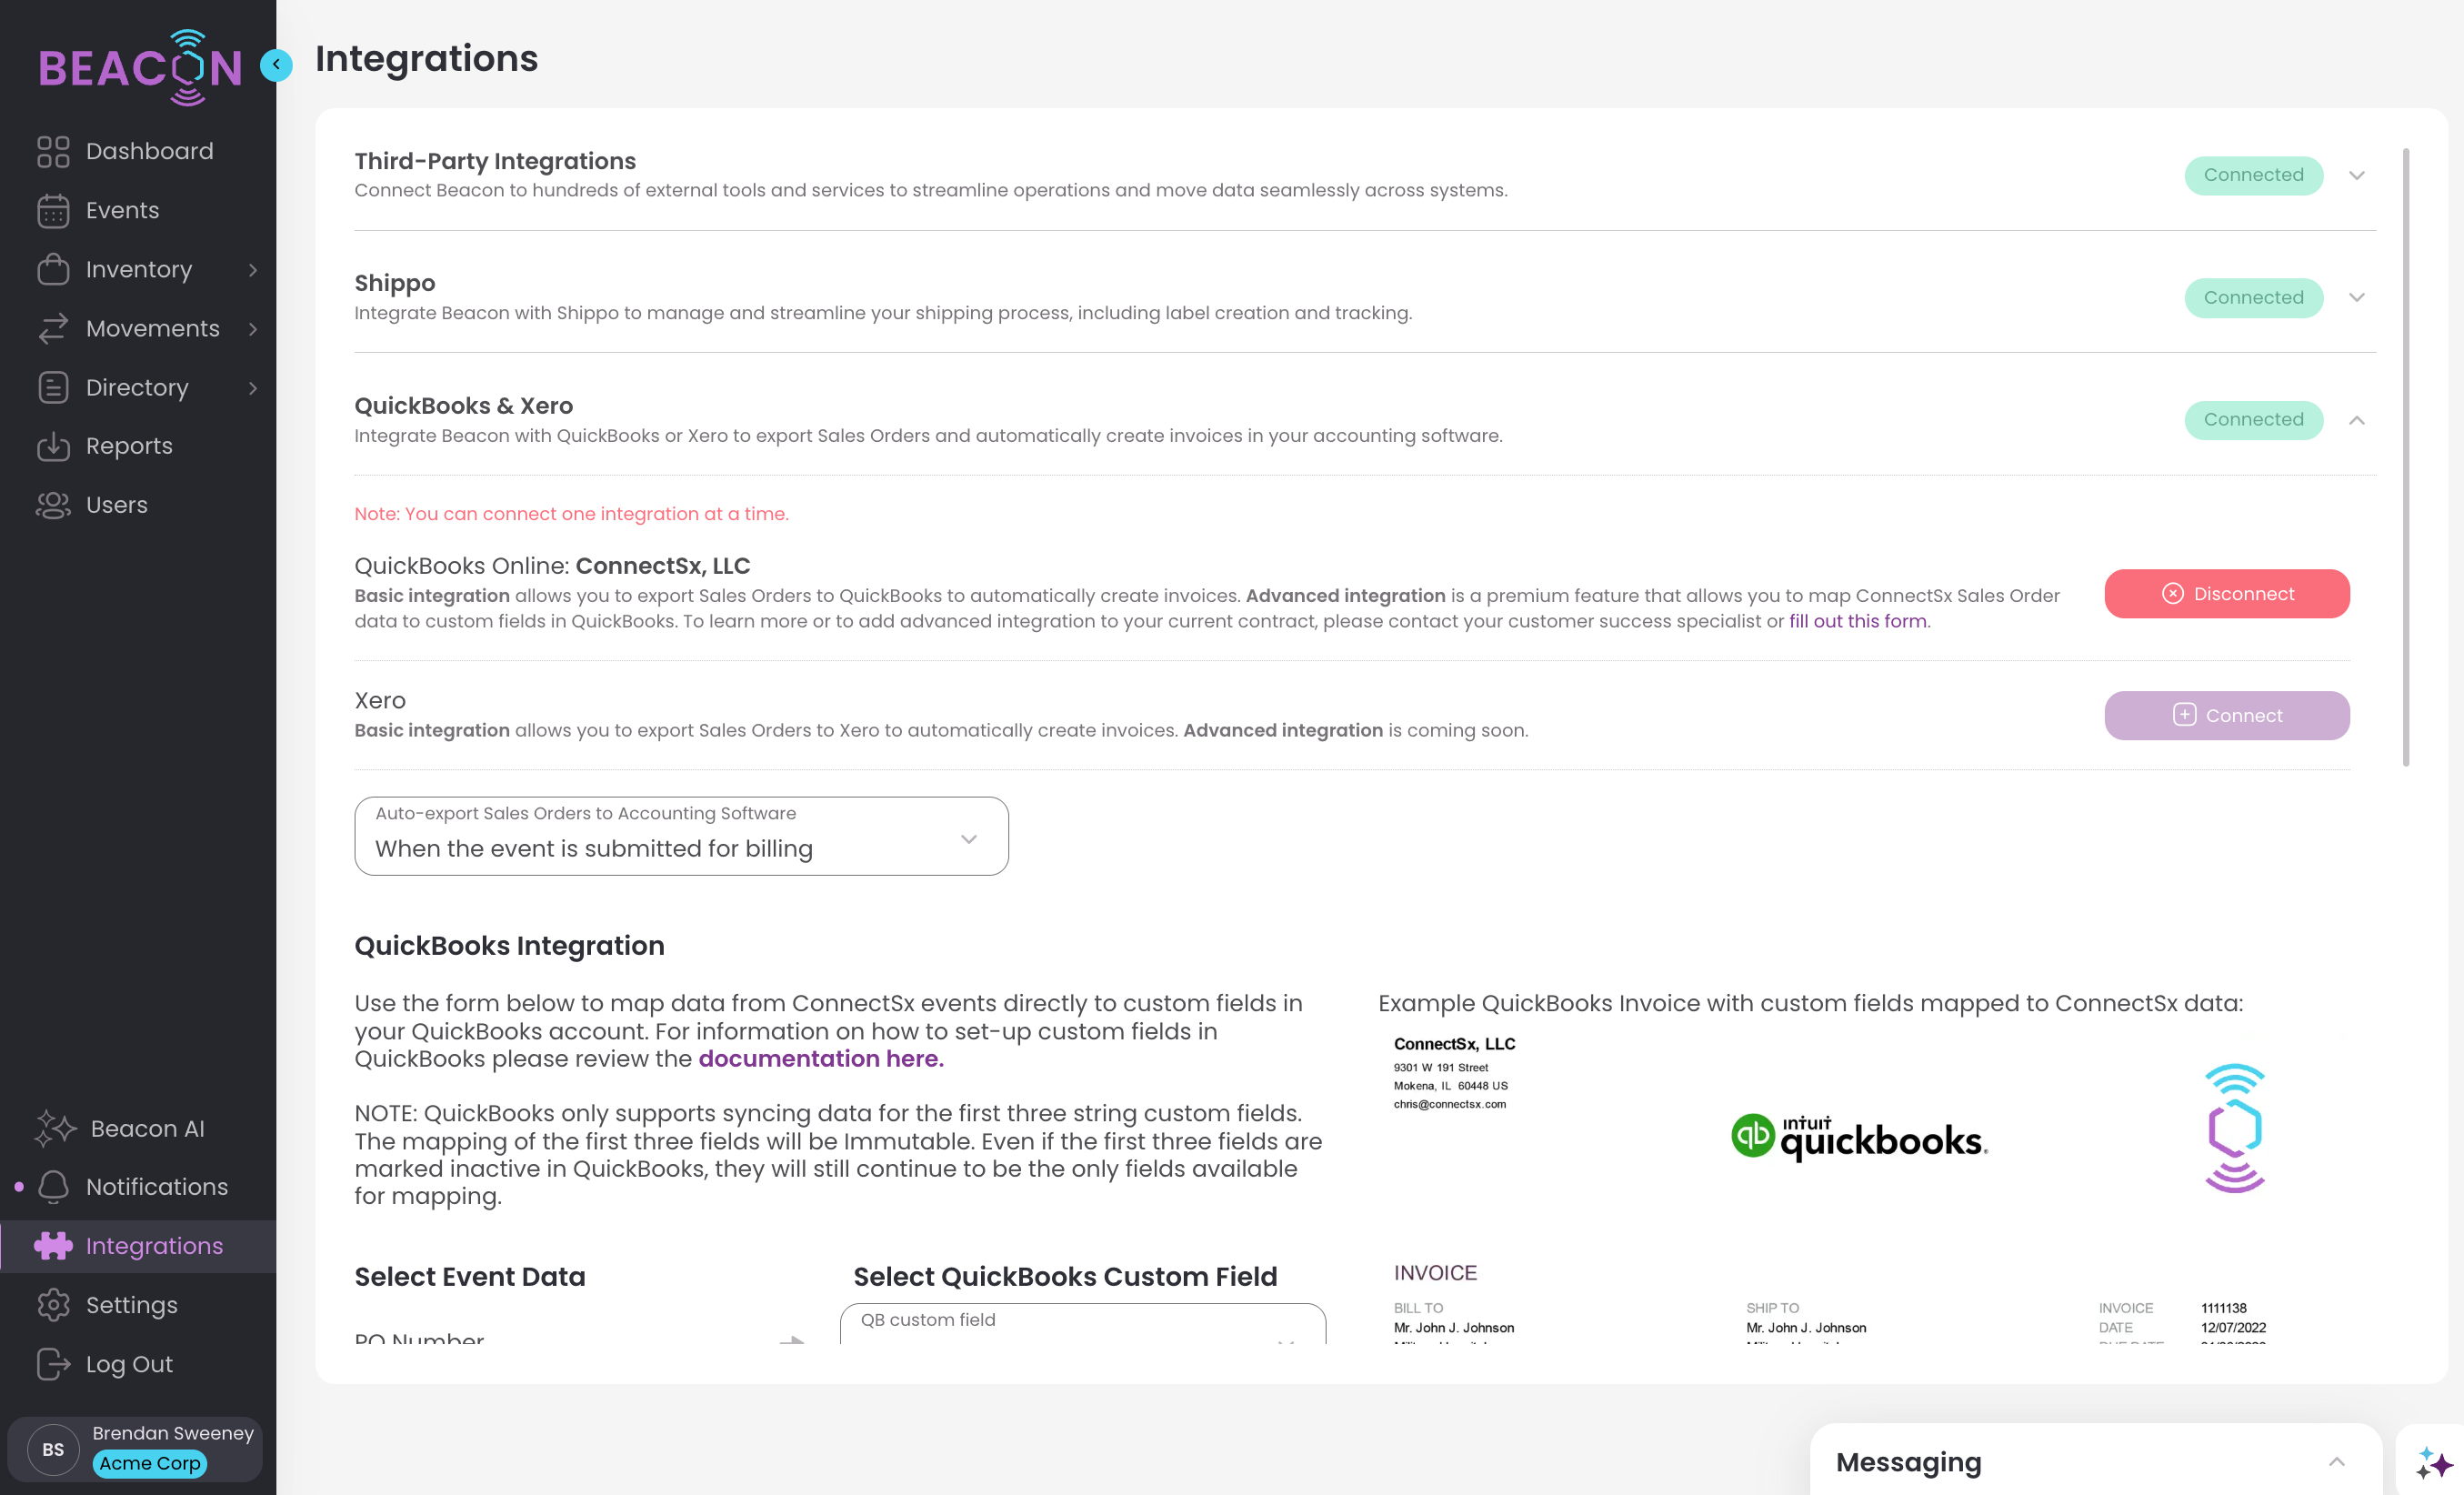
Copy the Customer ID from the URL of this page, you should see text at the end of the URL, such as “nameid=1”, 1 would be the customer ID. So copy or remember this customer ID, because we need to input this into your ConnectSx account.
-2.webp?width=670&height=197&name=image%20(22)-2.webp)
-
Now, Navigate to ConnectSx (you can leave Quickbooks open to go back and work on more customers after this)
-
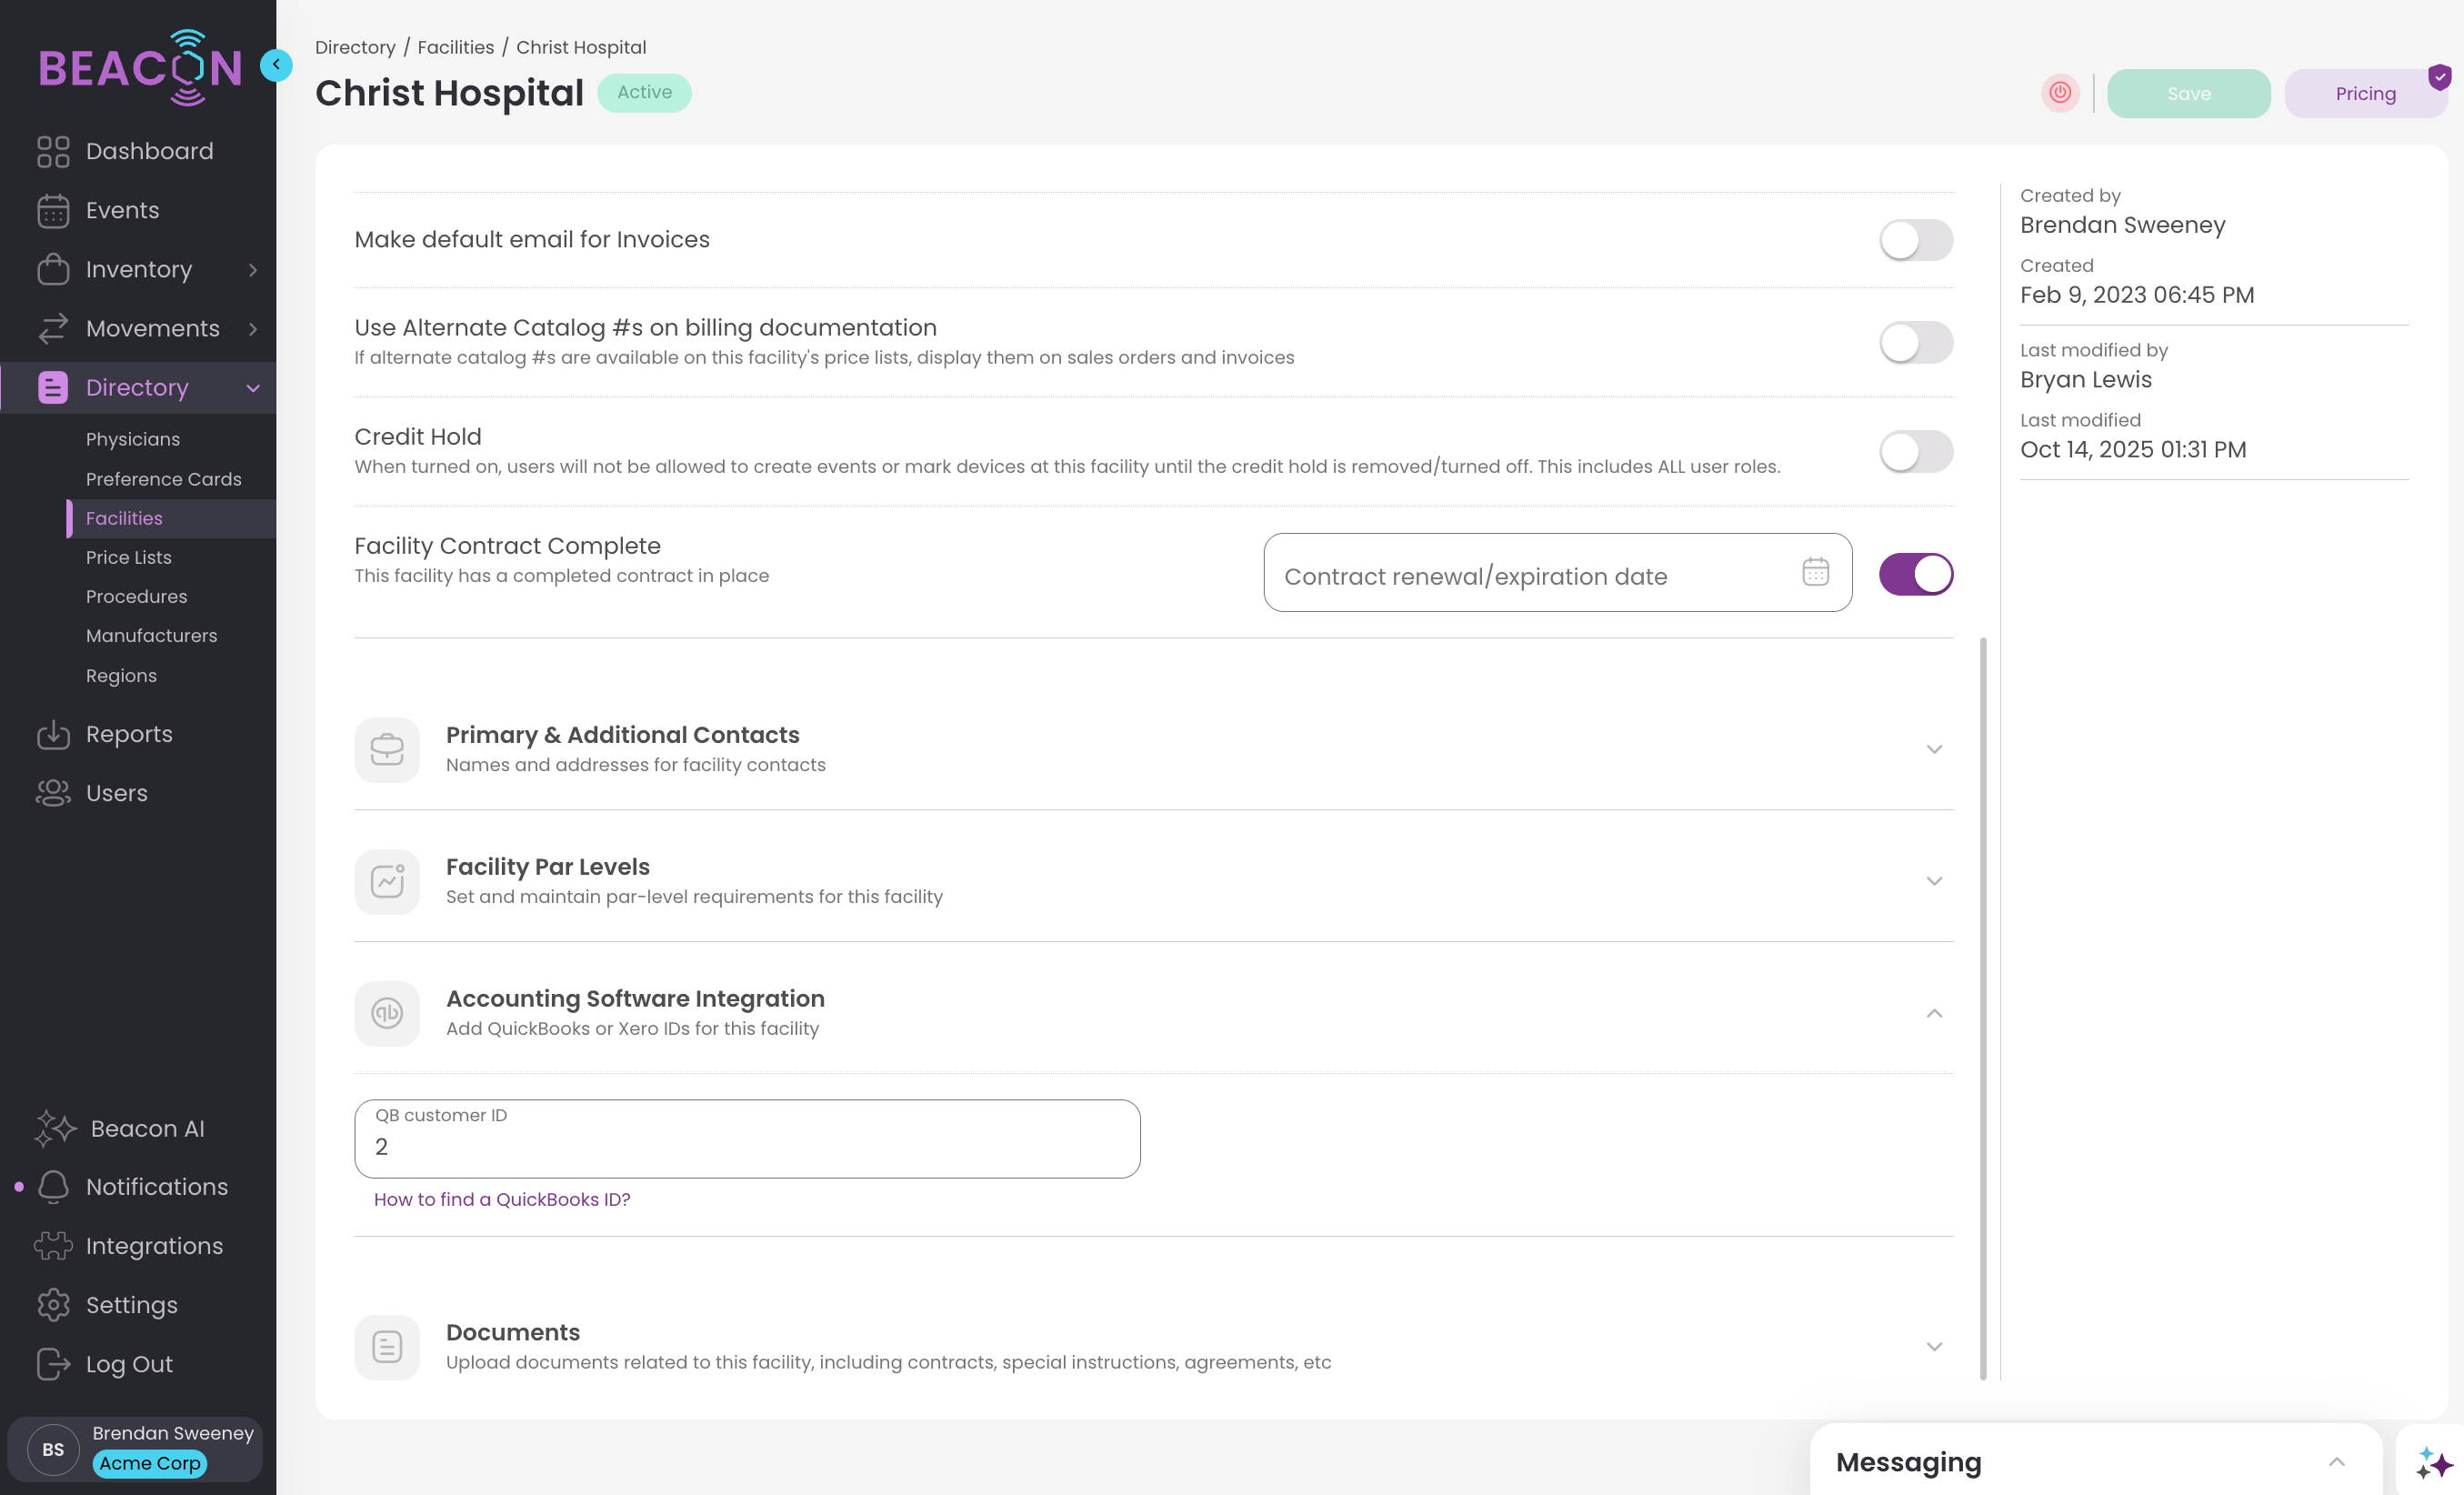
Navigate to your Facilities section of the Directory
-
Click on the Facility that Corresponds to the Quickbooks Customer you just looked up.
-
Paste the Quickbooks Customer ID into the corresponding field in the Facility record.
-
Click Save and this facility will be linked to the Quickbooks customer allowing you to push the ConnectSx Sales Order to Quickbooks to generate a Quickbooks invoice. Repeat this process for all of your customers.
Now, when you have a closed case/event, you can click “Export Sales Order Form to Quickbooks” to send this data to Quickbooks and generate your invoice, or set this up to occur automatically in the settings.
-2.webp?width=670&height=420&name=image%20(24)-2.webp)