How do I fulfill an inventory request?
- After an inventory request is created, it is up to the manufacturer admins to determine what inventory should be fulfilled.
- Typically the admin will review the request vs. the requestor’s existing inventory, review the event schedule or linked event to validate the demand, and review current inventory stock levels to make sure the request can and should be fulfilled.
- When the Admin user fulfills the inventory request it will result in a pending transfer of that inventory back to the user that requested it.
You can use the system to automatically select the inventory to fulfill your request. To jump to that section of the article click here.
Claim the Request to Mark it 'In Progress'
Tell users what is not being fulfilled
Locate the Request you need to fulfill
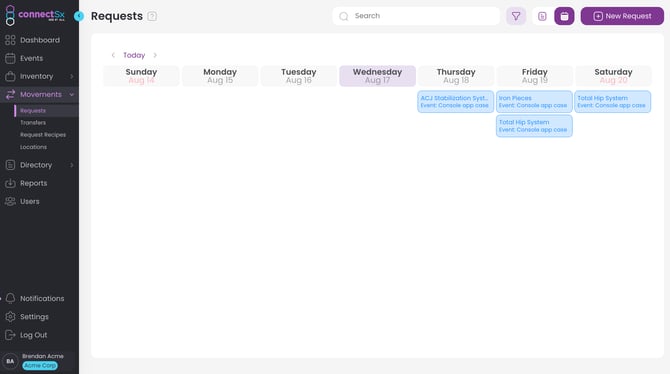
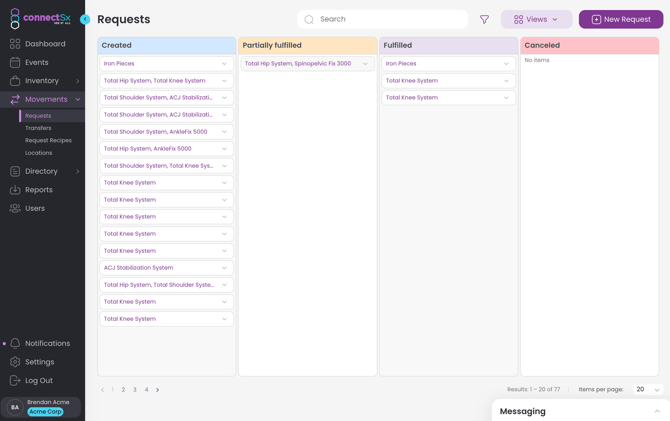
You can view requests in the list view, the board view, or in the calendar view. The calendar view displays inventory requests according to their requested “need-by” date, indicating when the rep has requested the inventory to have arrived in their possession.


Review the Request Details
-
When you have received an inventory request you may either fulfill, partially fulfill, or decline that request.
-
Click on the request to access the request details. You will see:
-
Need by date: The date the shipment is requested to arrive by
-
Ship to address: The destination of the shipment
-
Tracking Info: You may enter tracking info for the shipment
-
Linked Events: If the request is associated with an event click this link to view it.
-
Associated Transfers: If this request was already partially fulfilled, transfers may already be linked to it.
-
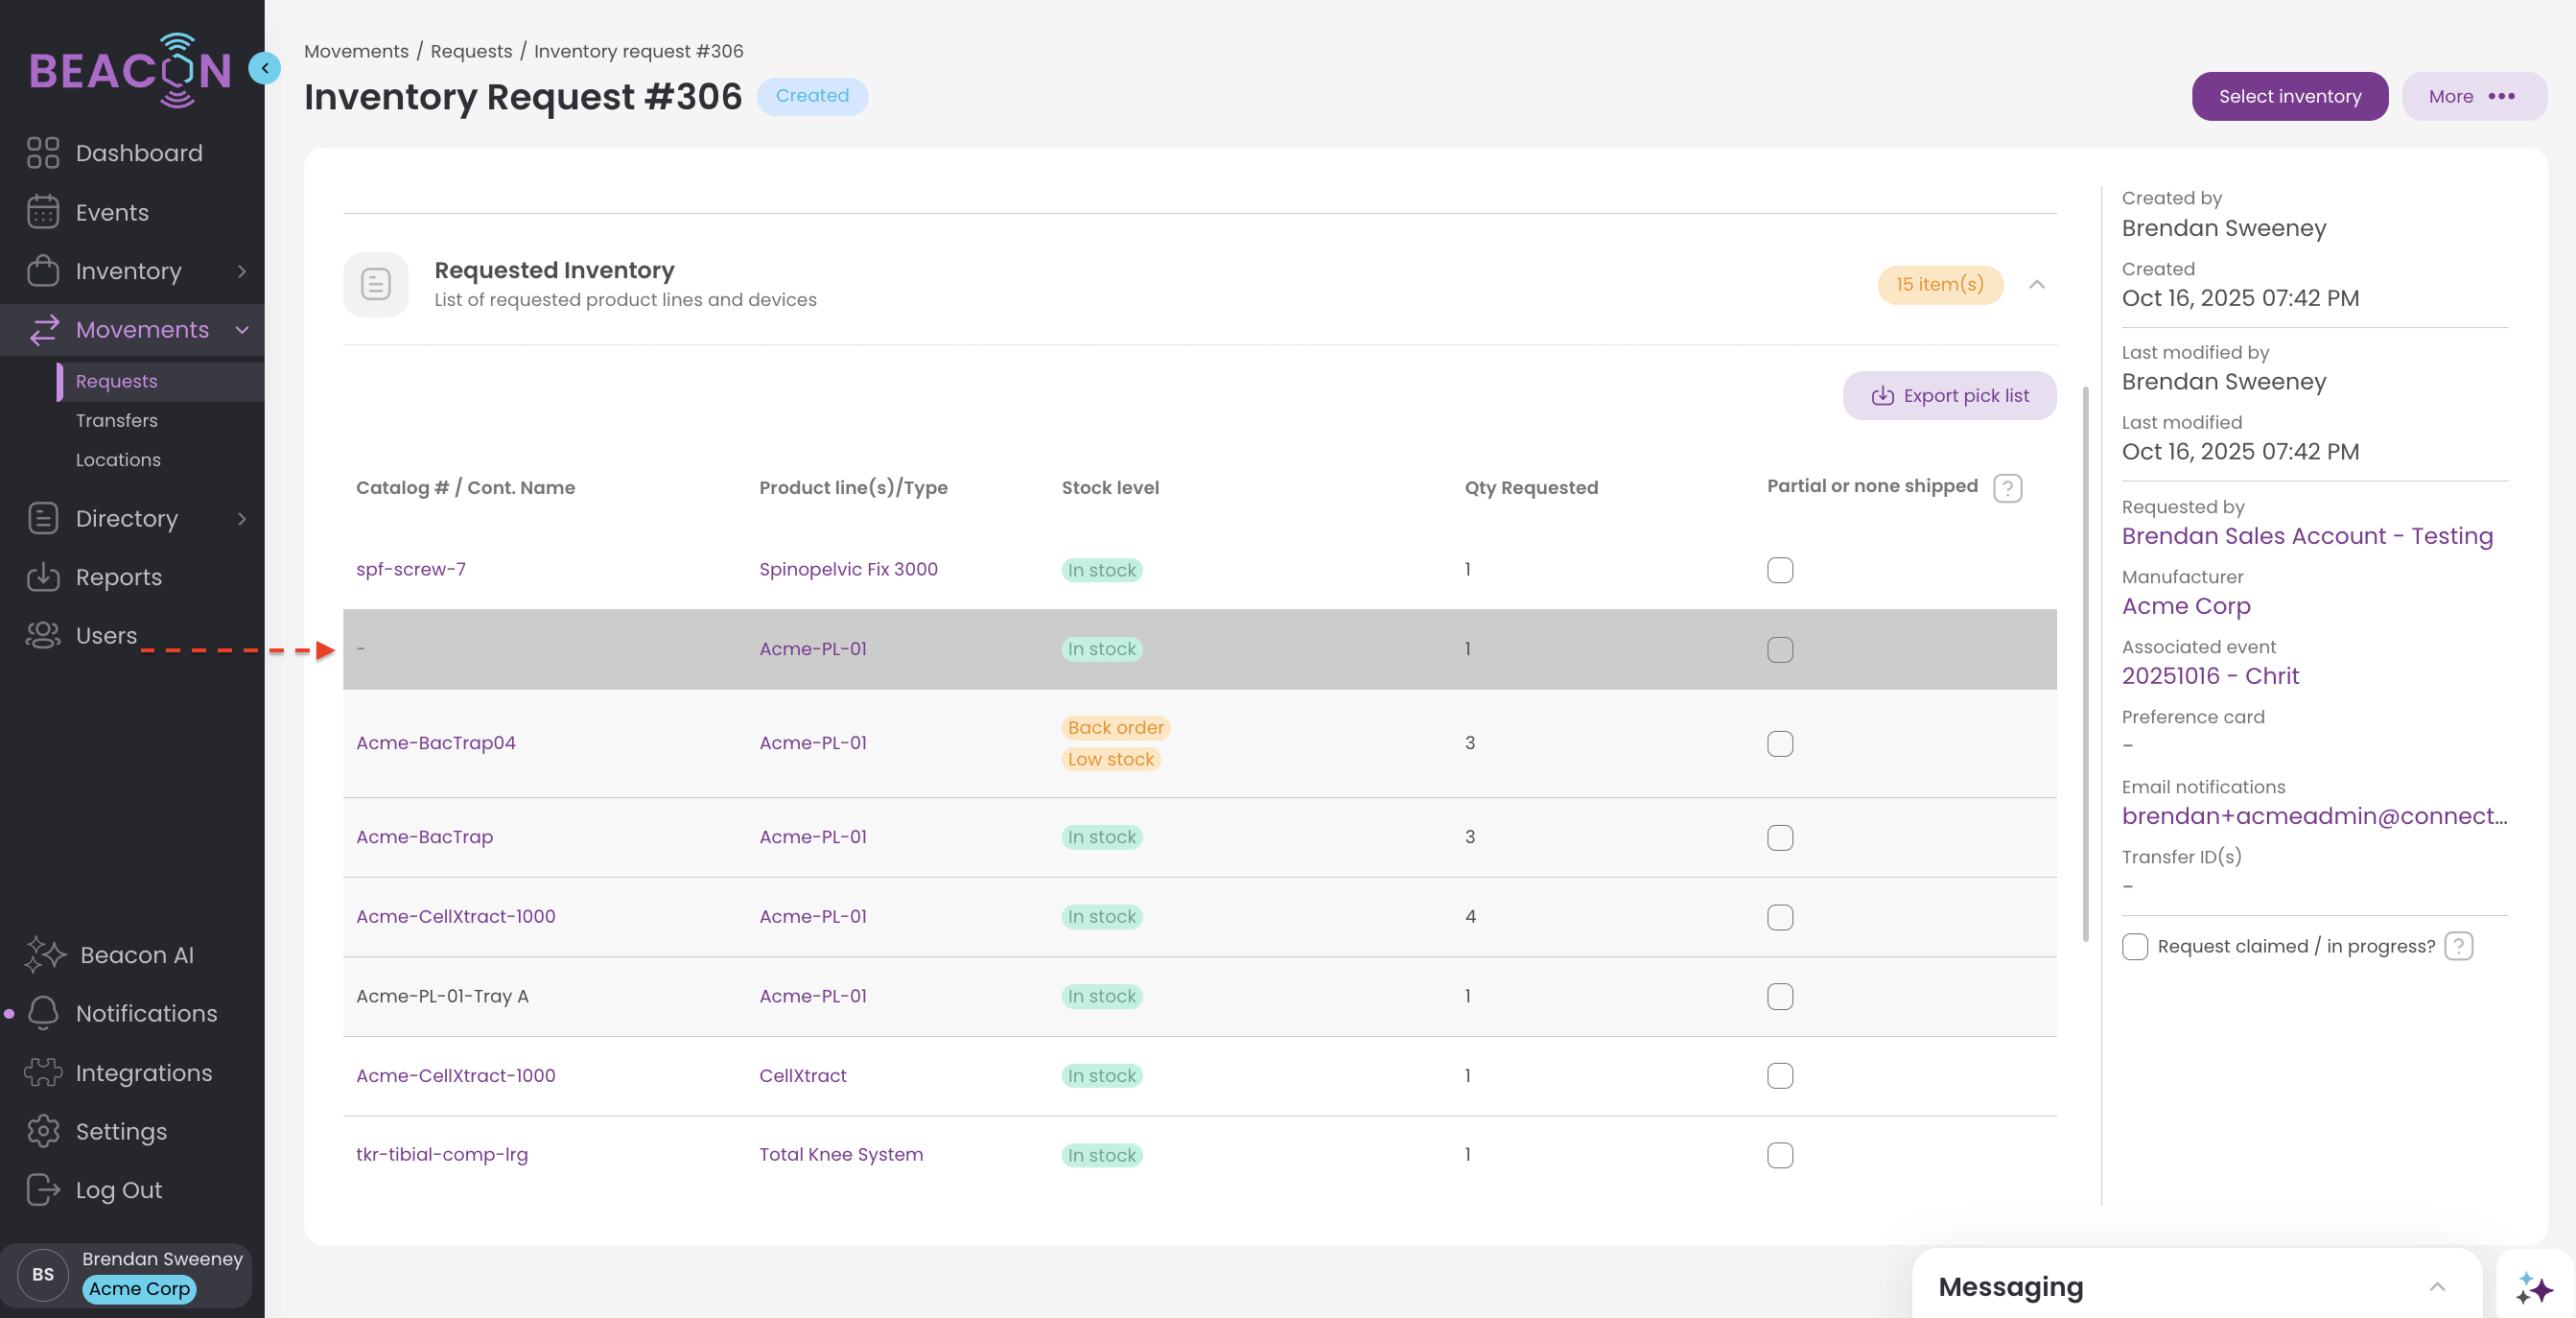
Requested Inventory: These are the devices and sets being requested.
- Whole products are shaded darker to help you differentiate from loose devices.

- Whole products are shaded darker to help you differentiate from loose devices.
-
Fulfillment section: Where you select inventory to build the resulting transfer to fulfill the request.
-
Notes: Initial notes from the rep about the request.
-
Comments: Use this section to leave comments and communicate about the request.

-
Claim the Request to Mark it in Progress
If you're going to fulfill or work on an Inventory Request it is helpful to let your team know that you're on the job. Click the check box before beginning work on the request so no one else works on it. 
When you mark a request as claimed, the request will also be marked "In Progress". You may uncheck this box to "unclaim" it.

Decline the Request
-
To decline the request, click the “More” menu in the upper right corner and then select “Cancel Request”.
Fulfill the Request
To begin fulfilling the request review what has been requested, scroll down to the bottom where you see the “Requested Inventory” section. Below will be a list of the devices that have been requested. Below this you will see a section called “Fulfillments” with the inventory that has been fulfilled.
-
Click “Select Inventory” in the top right corner or in the Fulfillments section
-
Next, click on “Select Inventory” in the Fulfillment section.

-
Next you will begin to build a transfer which will fulfill the request. Search for the items you’d like to assign to fulfill the request, click on them to select them.
-
To review what was requested in this request, use the “Requested” tab.

-
Select the custody the inventory will pull from, then click Next

- Automatic Selection: Use the Auto-select option to automatically select inventory for fulfillment to match the request. The selection will exclude expired inventory.

-
After the system assigns the inventory automatically, you’ll see a report of which items were fulfilled or were not able to be fulfilled. Click continue to select inventory manually to fulfill the remaining items or complete the request fulfillment.
-
It is recommended that you also check the Lots that have been selected to confirm they are what you want to send. Additionally, pull a list at the end to ensure the lots in the request are actually what gets picked for the shipment.

-
-
Manual Selection: To search for and select the inventory you need to fulfill the request manually using the filters along the left side. Switch between the “Requested”, “Searched”, and “Selected” tabs to see what inventory you need to fulfill, search for inventory to select, and view the inventory you’ve selected so far, respectively.
-
When selecting inventory modify the quantities of each item with the +/- buttons, then click “Select” to add the items to the fulfillment. Then click Next.

-
Make any further modifications to your inventory selection using the +/- buttons next to that item.

-
You may select which container the devices should be transferred to, just click “Assign to Container”

-
Click “Done”. The pop up box will disappear and you’ll see your items reflected in the Fulfillments section of the request detail screen.
-
Lastly, Click “Fulfill” in the Fulfillments section or in the upper right corner.

-
Alternatively, you may opt to fulfill some of the items in the inventory request, but not the whole request. To do this, select the inventory you’d like to fulfill as described above, but then click “Partially Fulfill”.

Partially Fulfill a Request
You may now partially fulfill a request an unlimited number of times. Each fulfillment will generate a new transfer.
-
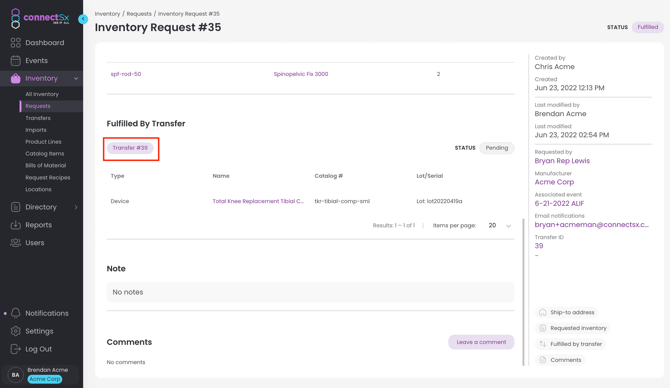
Once you click Fulfill a Transfer will be created to the recipient with the inventory you selected. You can access this by clicking on the transfer link.
